After i printed, i placed design paper on the top of my image, and added sticky tape to hold the paper. Then make sure you place this paper in to the printer same way as first time. Print
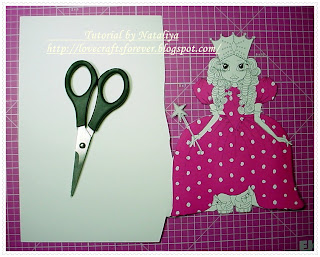
Now i need only Dress for my Princess. On this photo you can see how i cut her Dress. For my tutorial i didn't colored image, but i will recommend to do this first
Now glue all that little pieces to your image, and cut out paper around the Princess. Just on the left side of her dress make a score and fold on half.
Than grab some pencil and make a mark around your image . Then cut it out one more time. Don't you love your scissors after that??? And this is what you get on the end. Thaa Daaa!!!
Thanks for looking, and love to know what do you think about this.
Hugs Nataliya


How creative and innovative.. will be so helpful when we are not in the mood to color! Thank You Nataliya
ReplyDeleteCheers
Sonia
cardsandschoolprojects.blogspot.com
This comment has been removed by a blog administrator.
ReplyDeletelove it, thank you Nat.
ReplyDelete